Shopify - Product Reviews Integration
Get up and running collecting product reviews on Shopify with ResellerRatings Product Review Solution
Step I - Product Catalog Ingestion
-
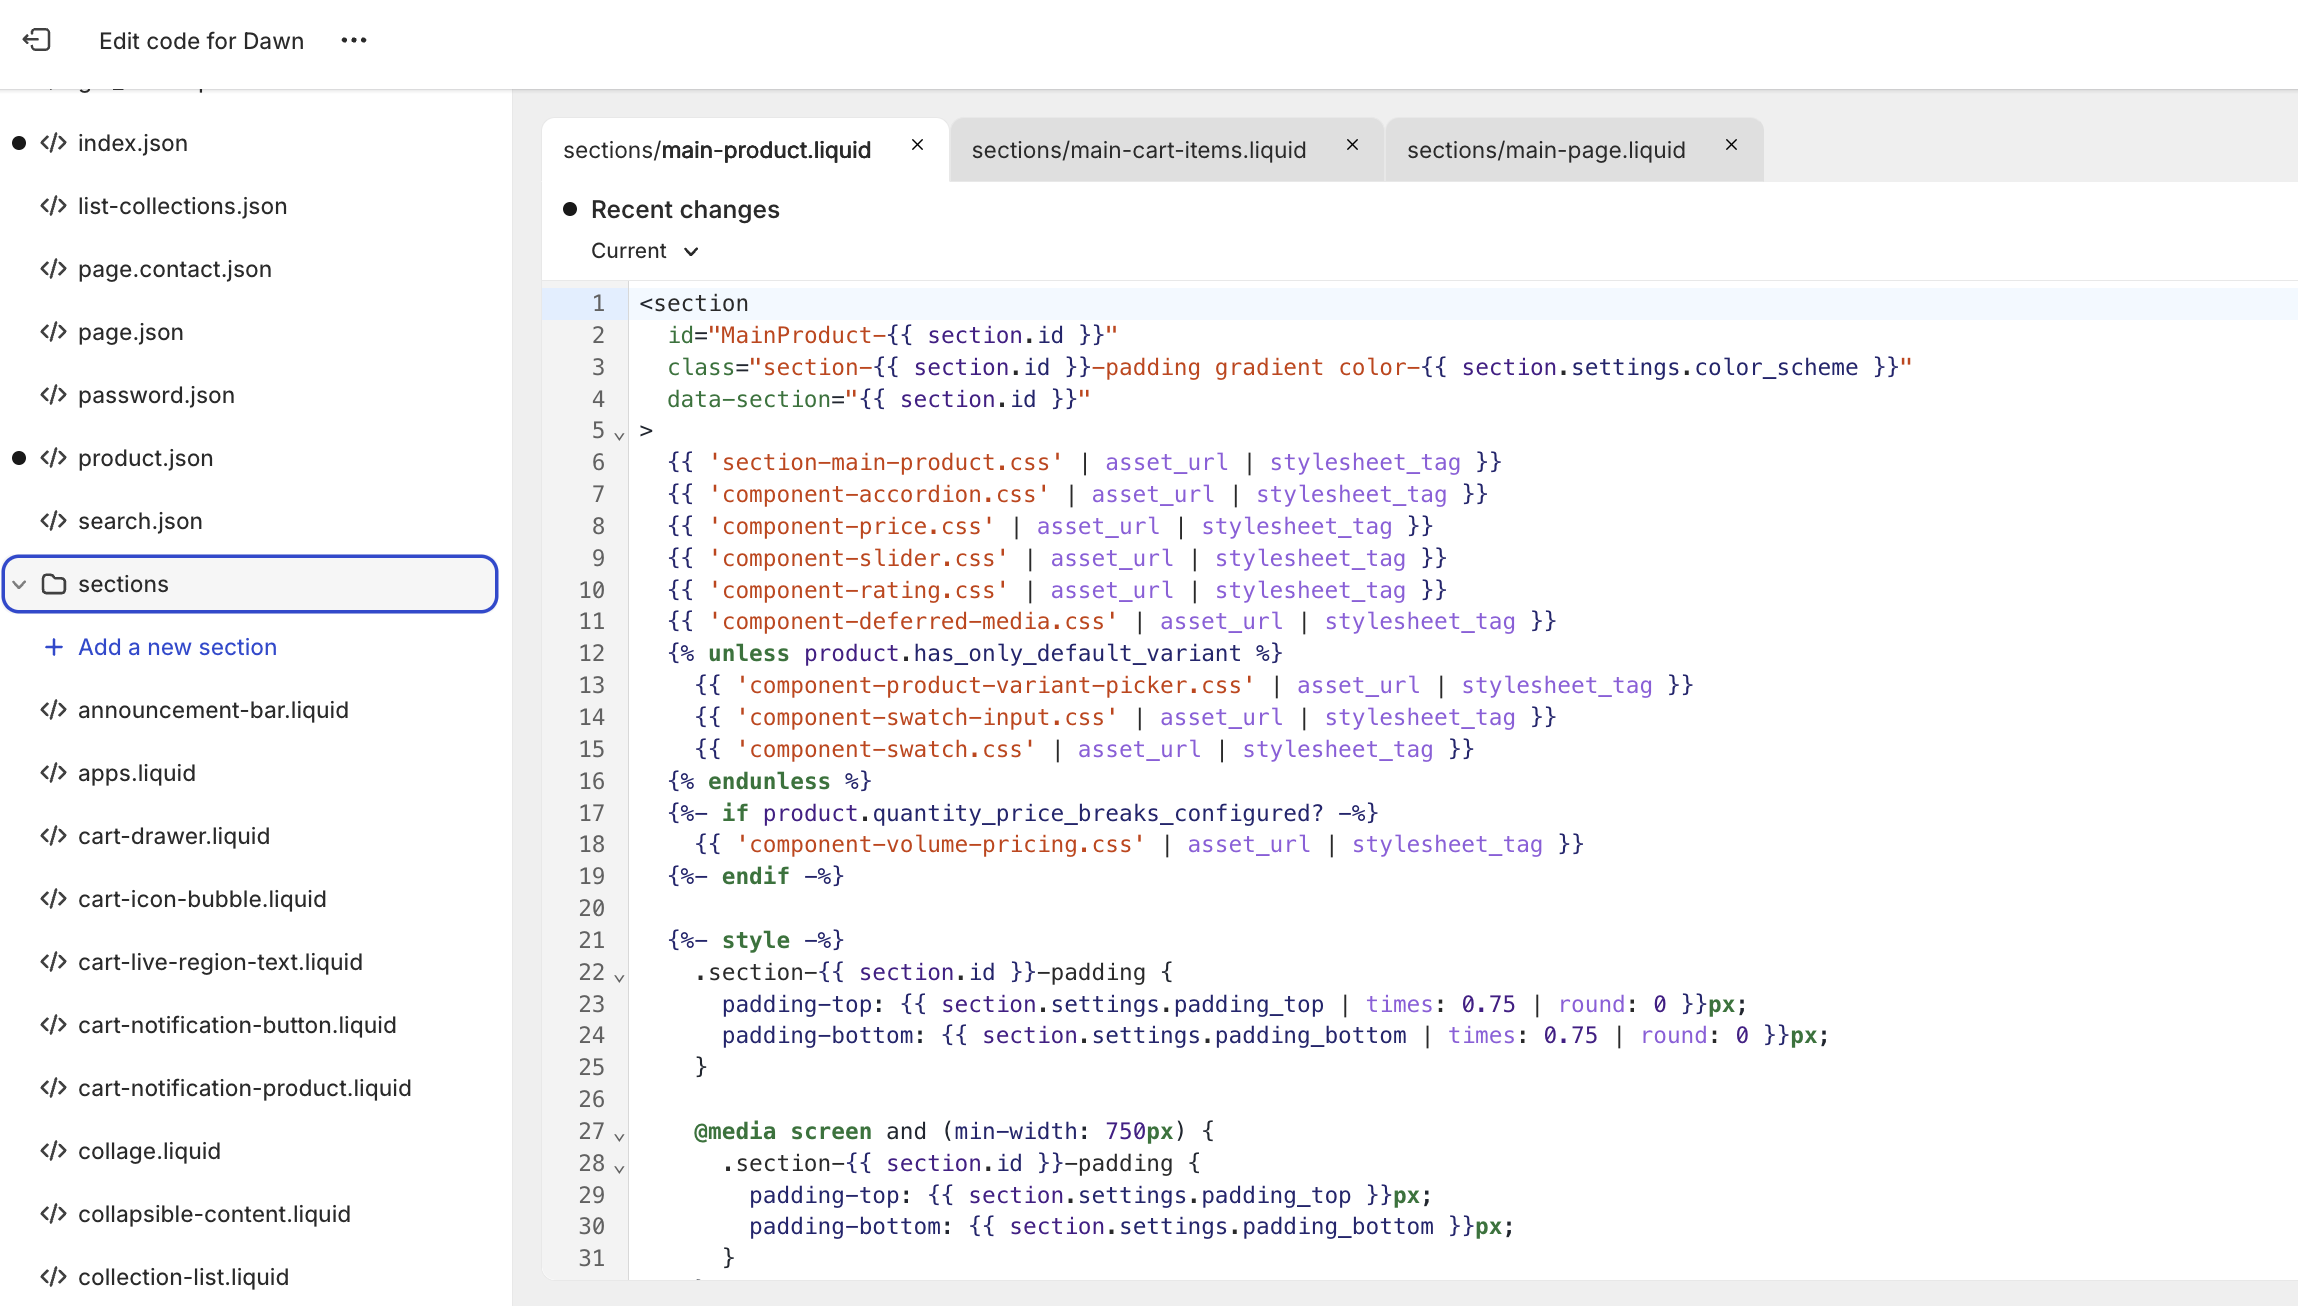
Navigate to the Shopify Admin Panel

2. Click on Online Store on the left hand panel
3. Select the three dots to open the menu, Click on edit code

4. On the left-hand column, identify your product page template file.

{% assign variant = product.first_available_variant %}
<script>

  let variantskus = [];
  {% for product_variant in product.variants %}
  variantskus.push({sku: "{{product_variant.sku}}",
                   name: "{{ product.title }}",
                   gtin: "{{product_variant.barcode}}",
                   img: "{{ product.featured_media.preview_image | image_url: width: 500 }}",
                   url: "https://replace.myshopify.com{{ product.url }}",
                   parent_id: "{{ product.title}}"});

  {% endfor %}


var __RRPRWidget_Settings = {
name: "{{ product.title }}",
sku: "{{ variant.sku }}",
gtin: "{{ variant.barcode }}",
img: "{{ product.featured_media.preview_image | image_url: width: 500 }}",
url: "https://REPLACE.myshopify.com{% raw %}{{ product.url }}",
parent_id: "{{ product.title }}",
products: variantskus,

        };

</script>
<!--Bottom of your page-->
{% assign variant = product.first_available_variant %}
<script
src="https://www.resellerratings.com/productreviews/widget/javascript/YOUR_SEO_NAME.js?sku={{ variant.sku }}"></script>
{% endfor %}
Within this script, you will need to update the URL tag to correctly display your Shopify domain name. You will also need to find the existing liquid variable being used for your product image to correctly populate the script with a product image link.
You will need to swap out YOUR_SEO_NAME for your ResellerRatings SEO name. Please contact your integration team to obtain this name.
Step II - Review Collection
Follow our integration guide for webhooks here:
https://learn.resellerratings.com/en/knowledge/shopify-webhooks-review-trigger
Step III - Review Display
The final step will be to add the Product Review Display Widget to the product pages.
-
Navigate back to the product template file used for the product catalog script inside the Shopify admin.

2. Place this <div> where you want the widget to render on your site. This will take some trial and error on your side to get the correct rendering on the page, every Shopify theme/store is unique
<div id="RR_PR_Widget_Wrapper"> </div>