New to BCC Collection? See Part 1 here
Seller Ratings | Product Reviews
Available for all plans
How does this work?
Blind Carbon Copy, or BCC, is the simplest form of incoming mail auto-collection. The detail necessary to register a survey request is pulled from the information on
- Choose a notification email sent to the customer whose subject line contains the order number prefixed with a #. We suggest an order or shipping confirmation or shipping notice.
- Add your unique incoming email address above to the BCC address field of that notification.
- Reseller Ratings receives the email and we will extract the customer's email from the TO field and the order number from the SUBJECT. The date the email was sent will be used as the transaction date.
NOTE: The subject field must be of a format that begins with a # and continues until the end of the line or a space. Eg. #12345 , #AB342-US , etc.
The BCC method of delivery can be used along with any of the more advanced configuration methods to provide additional and more accurate data.
What are Script Tags
If you don't have transactional emails with the invoice number in the subject line - you can add script tags to the email!
Additional and more precise information can be supplied by including a <script>...</script> tag within the body of the email. With the proper data, these emails can be sent directly to the ingestion address by your platforms and do not require the use of BCC. The use of the script tag requires the email format to be HTML enabled, data to be formatted in standard JSON, and the tag can appear anywhere in the email including being the only HTML content.
Note, the <script> tag option is rarely supported on shopping platforms like Shopify. We advise use of one the next method of data inclusion if you are on that platform.
Adding Script Tags
- Choose a method of sending ResellerRatings the appropriate email through BCC or directly based on a trigger within your platform. Commonly this can be done using an "on order" notification transactional email
- Add a <script> like as follows:
<script type="application/json" data-resellerrati {
 "email": "customer@example.com",
  "invoice": "AB12345-US",
 "transaction_date": "2023-02-08",
 "sku": ["sku1", "sku2", ...]
}
</script>
The <script> tag must be present exactly as presented here with the data-resellerratings attribute.
The only content in this script tag should be the JSON data for the processing of the review. Any other information or malformed tags could cause the processing to fail.
The Supported properties that can be included in the JSON data block are:
| REQUIRED The email address of the customer to send the survey to. | |
| invoice | OPTIONAL Invoice or order number to associate the survey request with. |
| transaction_date | OPTIONAL Date that the transaction occurred. This should be in ATOM or ISO8601 format such as 2023-02-08. |
| sku | OPTIONAL An array of SKUs to register when requesting a product review. |
- Reseller Ratings receives the email and we will extract the customer's data from the provided block.
- The fields on the email itself such as TO and SUBJECT will be ignored in this configuration
Shopify and Big Commerce
HTML Comments
Similar to the Script Tag option, HTML Comments allow for the inclusion of data in an email that can be sent directly to your ingestion email address. This option is slightly more supported by many of the shopping platforms such as Shopify. The HTML Comments option supports the same data points as the Script Tag and can be sent directly as part of your shopping platform notifications system.
- Choose a method of sending Reseller Ratings the appropriate email through BCC or directly based on a trigger within your platform. Commonly this can be done using an "on order" notification.
- Add an HTML comment block as follows, typically this is done within the <head> block of the HTML email content.
<!--#rsr.data:{
   "email": "customer@example.com",
   "invoice": "AB12345-US",
   "transaction_date": "2023-02-08",
   "sku": ["sku1", "sku2", ...]
}-->
The comment block needs to be inserted and available in the email exactly as shown here. There is flexibility in white spacing but the content must be valid JSON data.
The Supported properties that can be included in the JSON data block are:
| REQUIRED The email address of the customer to send the survey to. | |
| invoice | OPTIONAL Invoice or order number to associate the survey request with. |
| transaction_date | OPTIONAL Date that the transaction occurred. This should be in ATOM or ISO8601 format such as 2023-02-08. |
| sku | OPTIONAL An array of SKUs to register when requesting a product review. |
Adding emails to Shopify's incoming email
2. Click on Settings

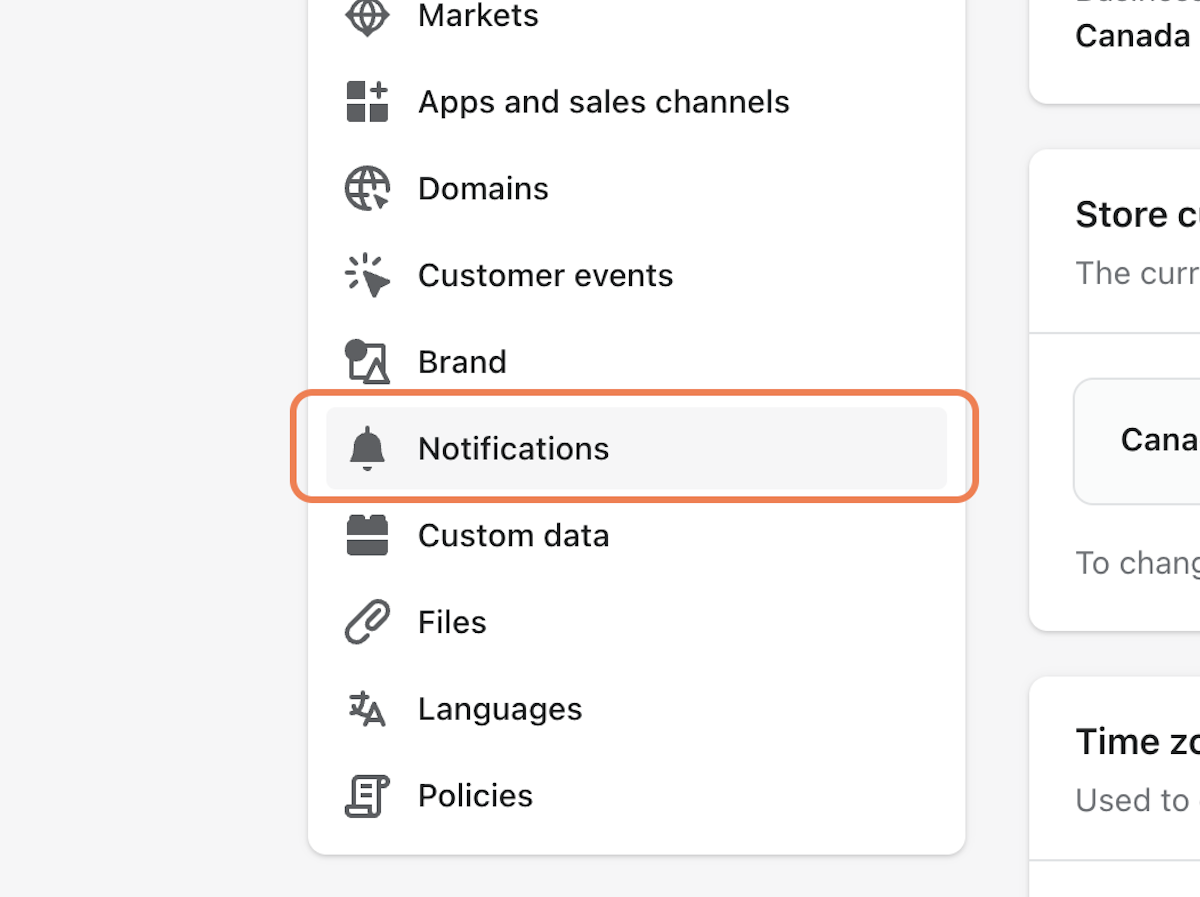
3. Click on Notifications

4. Scroll down to "Staff Order Notifications"
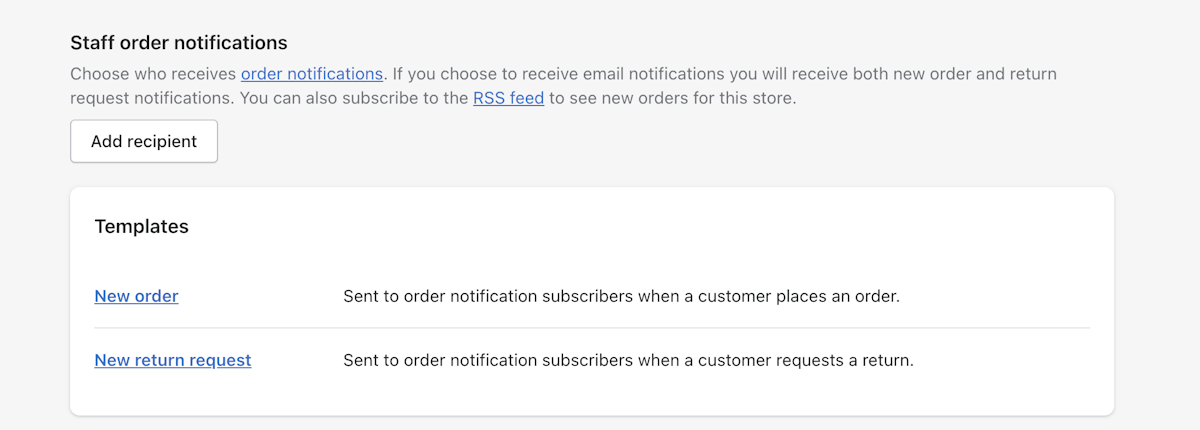
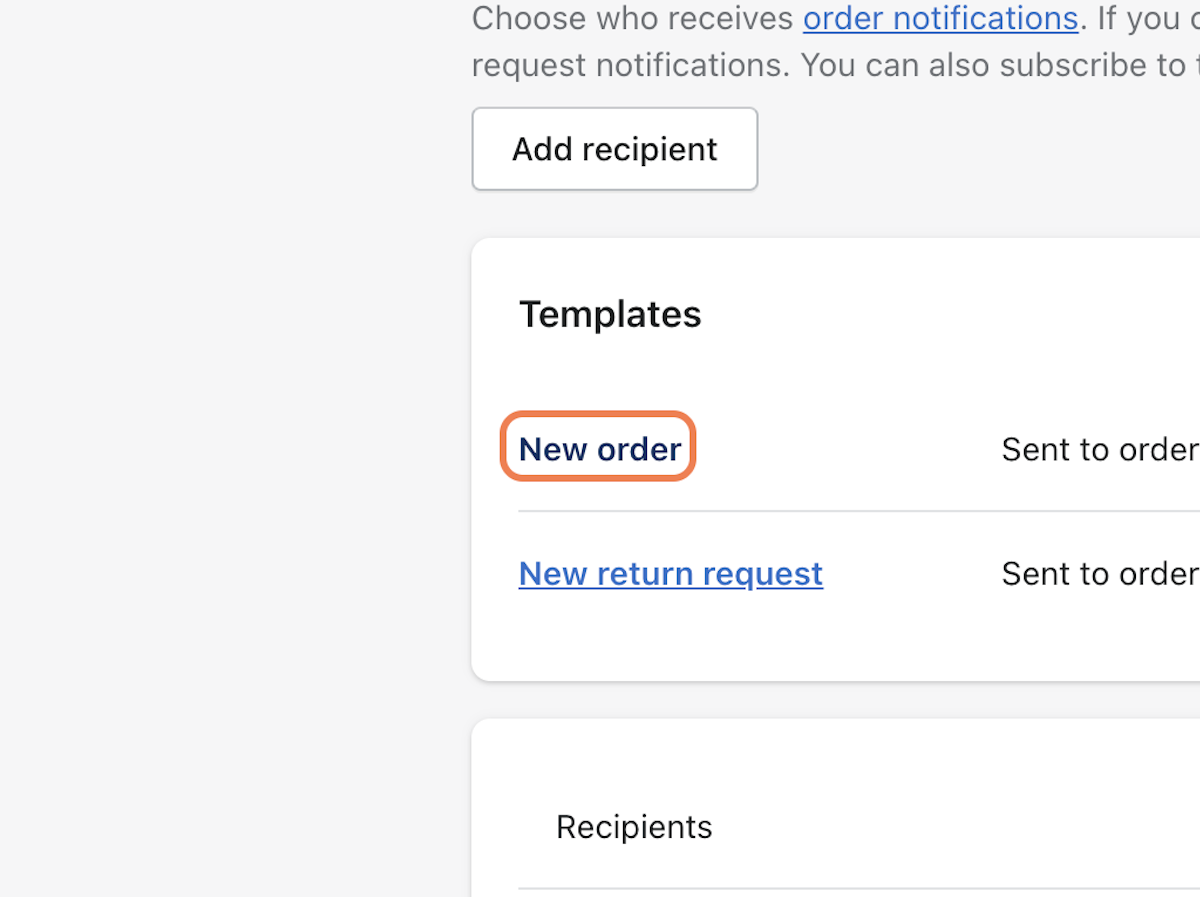
5. Click on New order
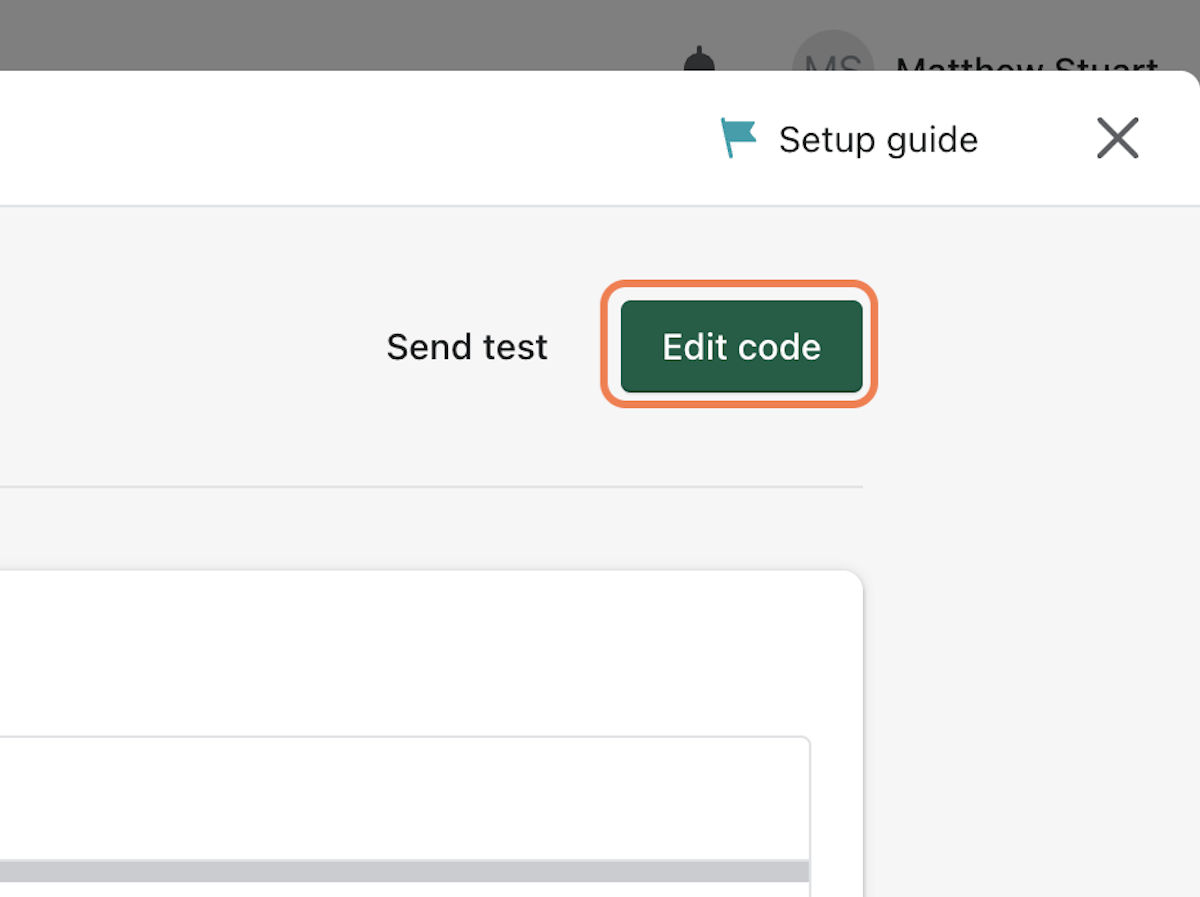
6. Click on Edit code
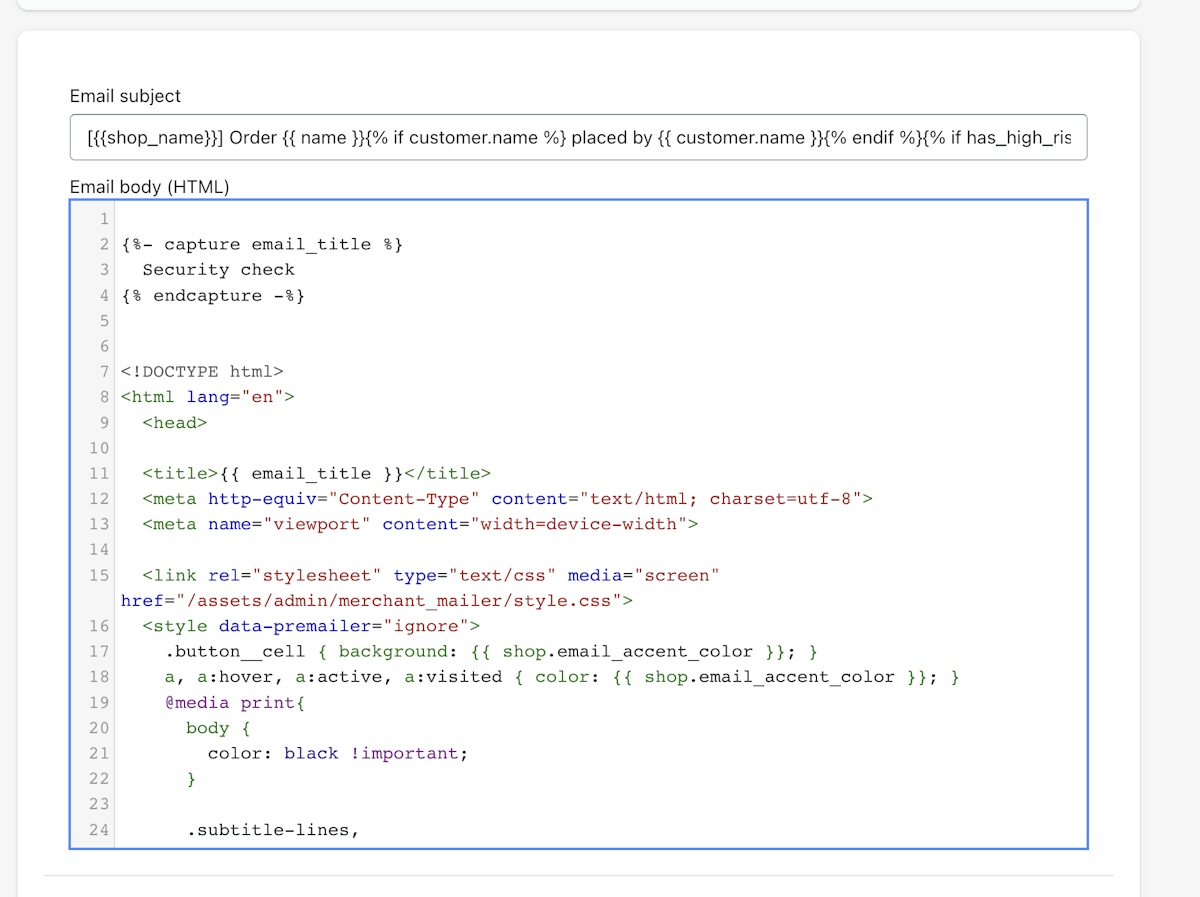
7. Paste provided snippet into template editor
Paste the content provided by your CSR into the template after the opening <head> tag. The variables used here must be exactly as shown.
{
"seller":"12345",
"email": "",
"invoice":"kb-article-module-5",
"transaction_date":"",
"sku":
}
<!--#rsr.data:-->
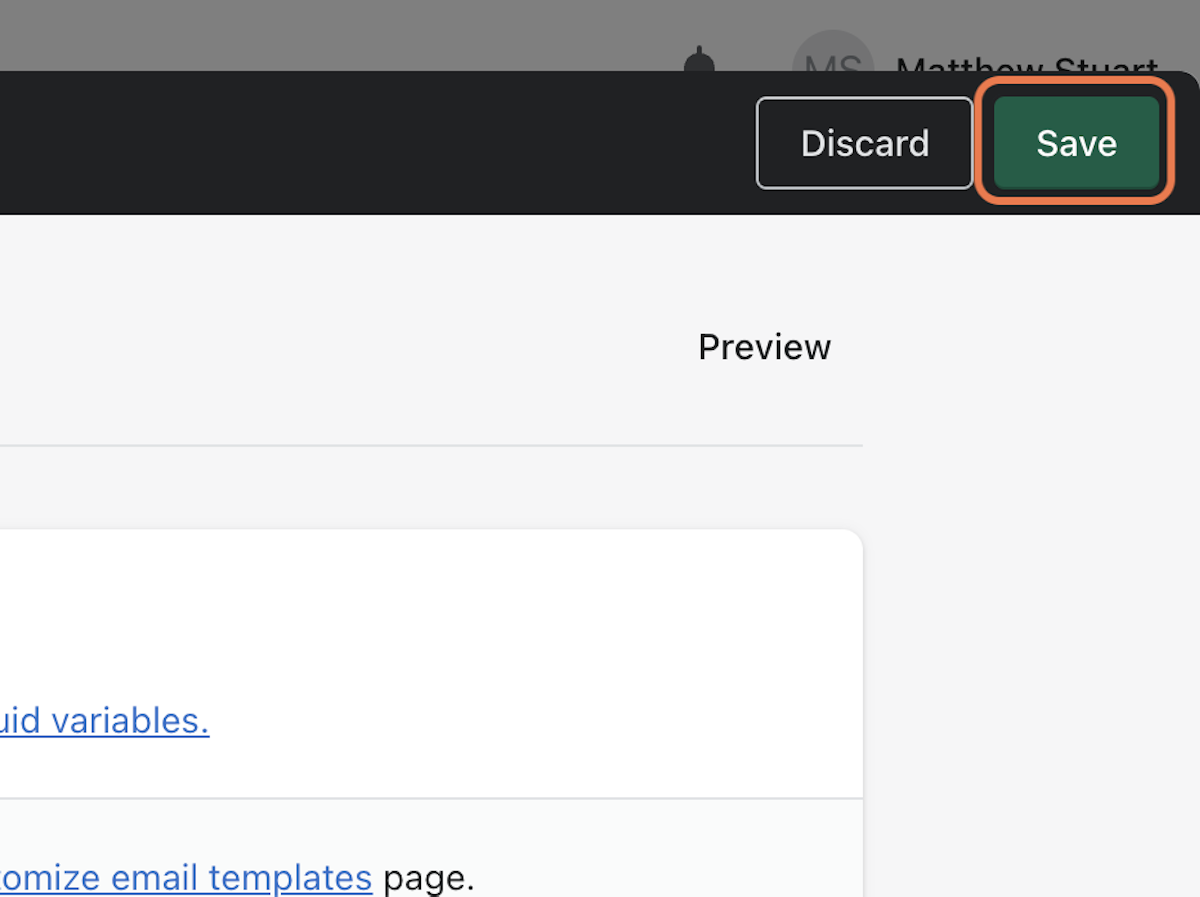
8. Click on Save
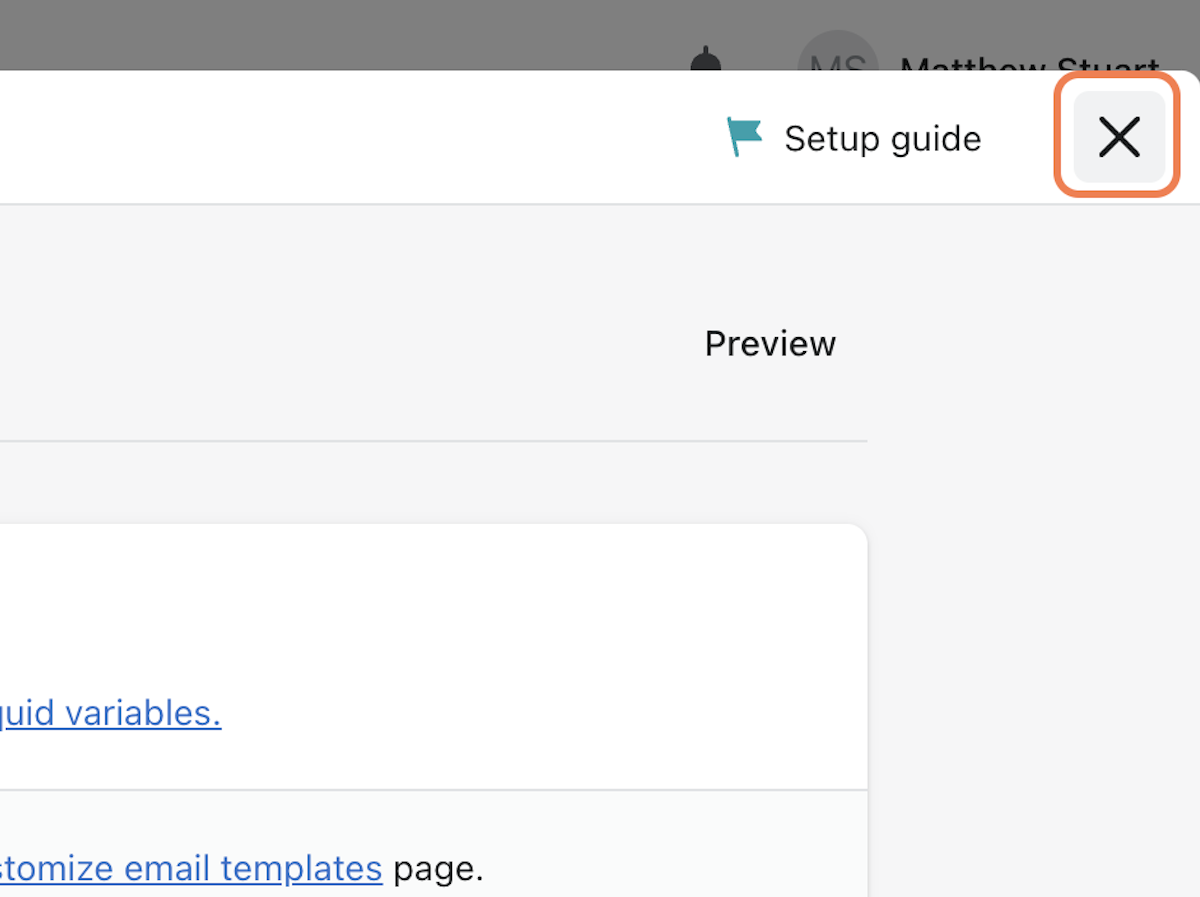
9. Click on Close
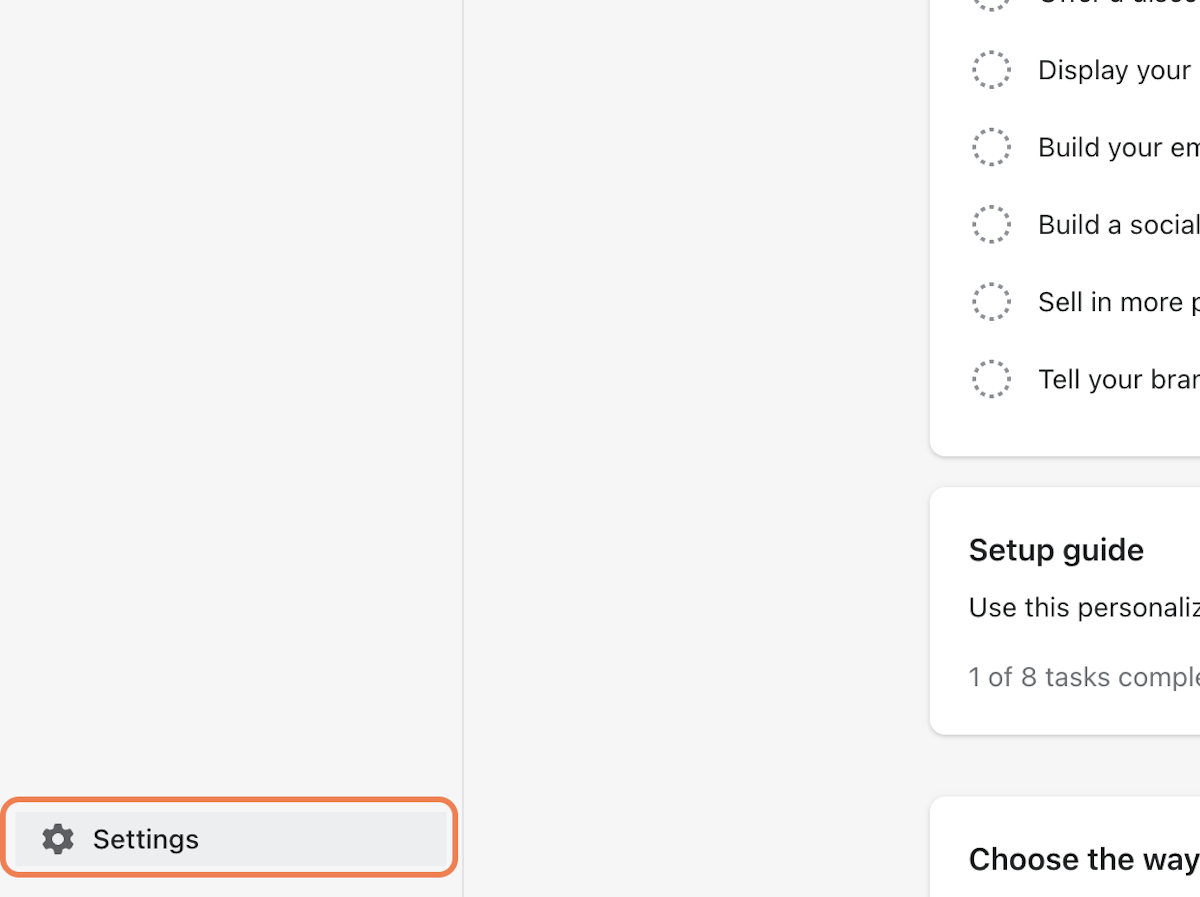
10. Click on Settings
11. Click on Notifications
12. Scroll down to "Staff Order Notifications"

13. Click on Add recipient
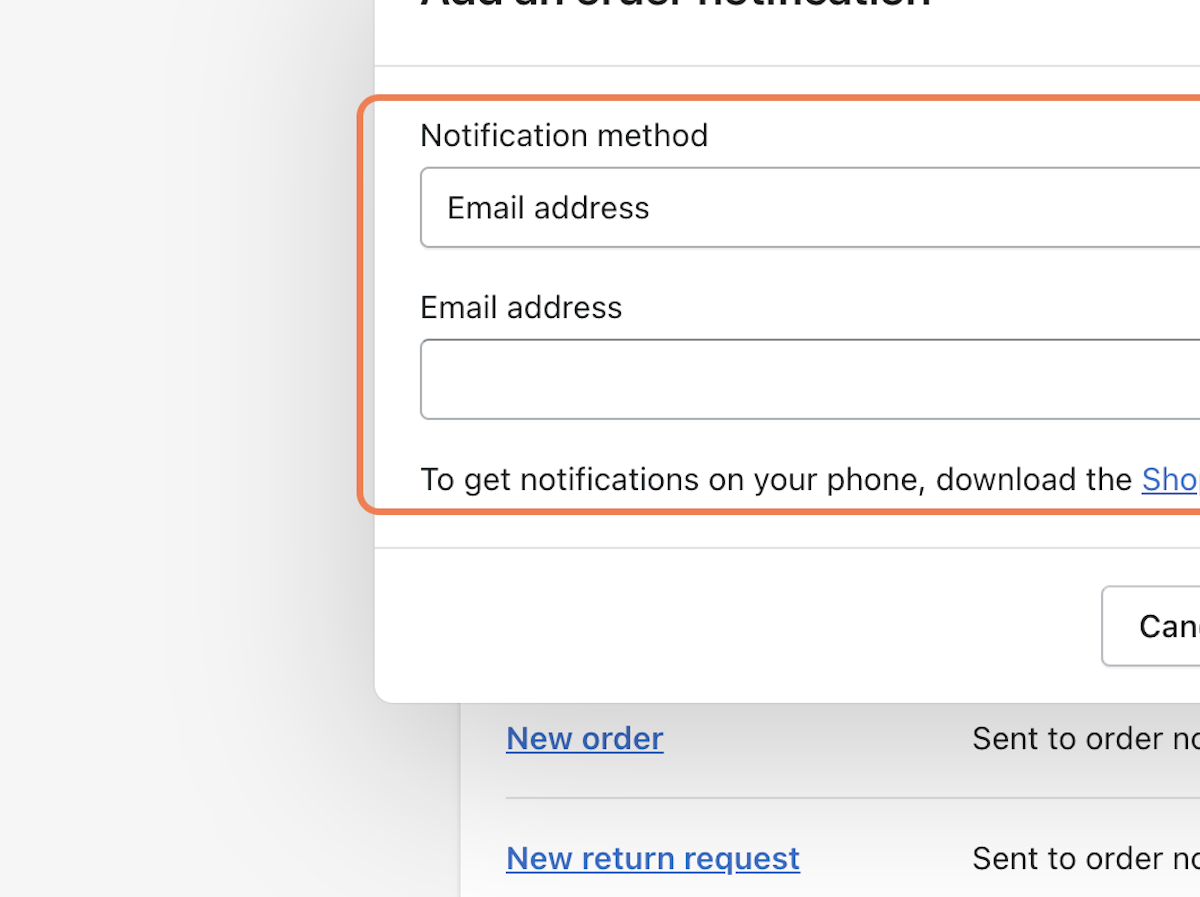
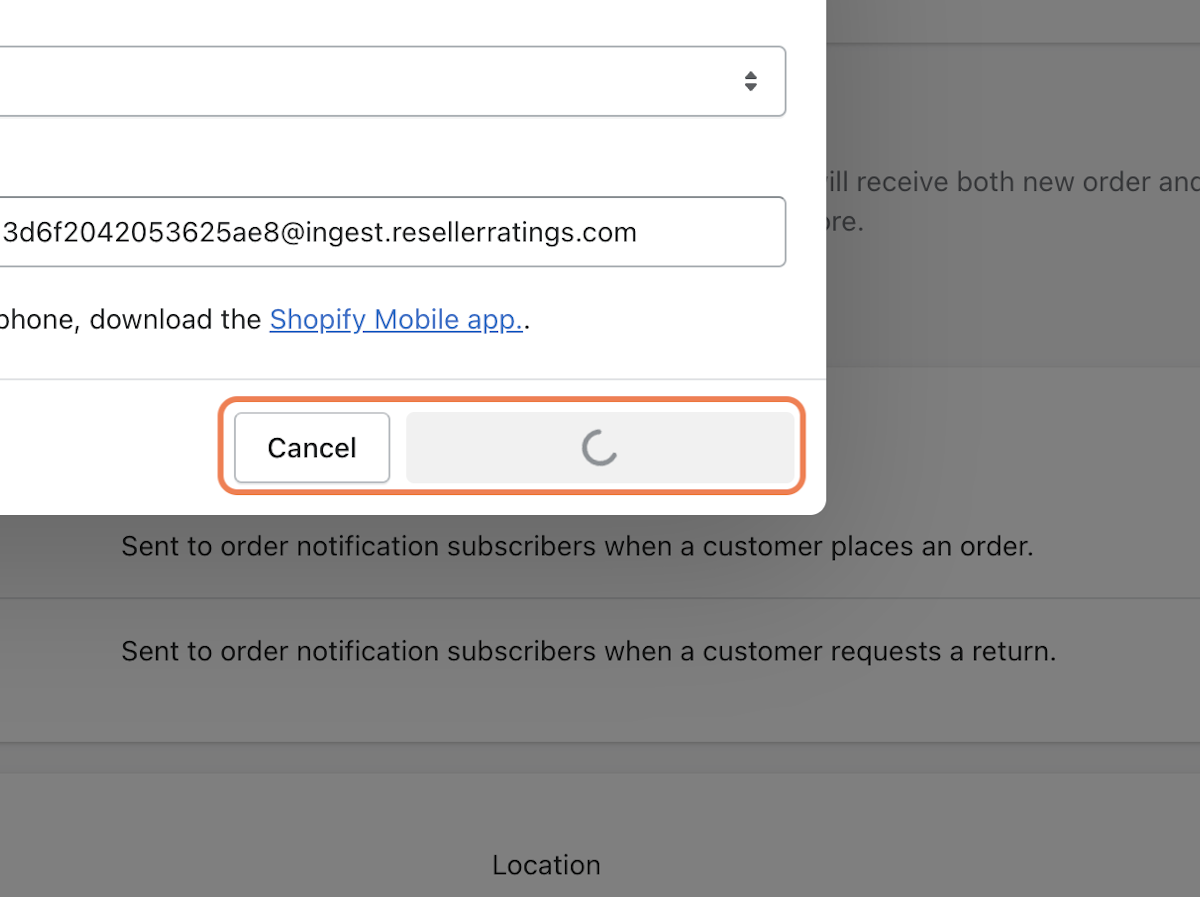
14. Paste your unique ingestion destination address into "Email Address"
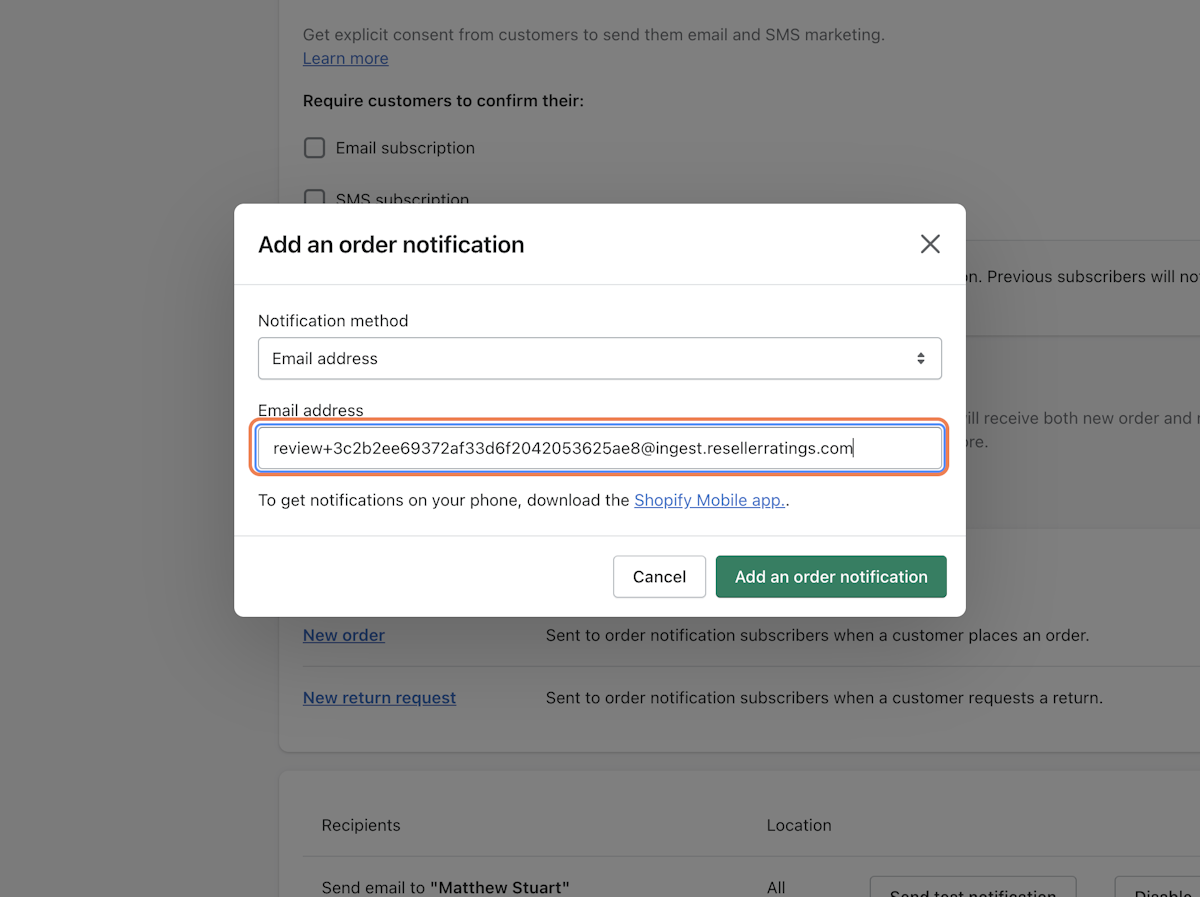
15. Click on Add an order notification